# 简介
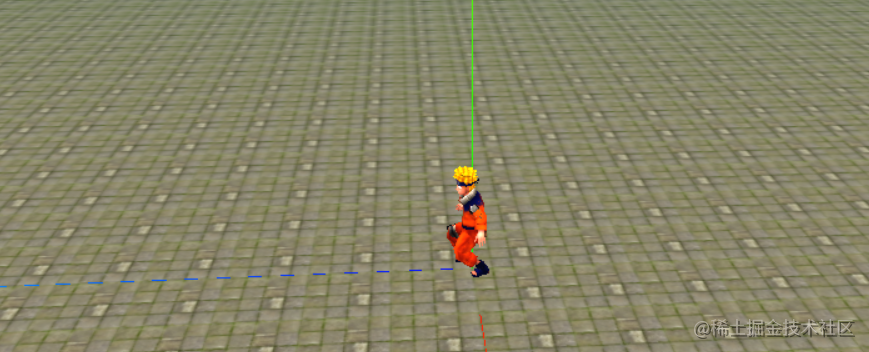
在 three.js 中动画也是很重要的一环。在使用软件创建模型时,一般都会创建模型的骨骼动画用于在开发中使用。下面我们加载 .fbx 格式的文件模型(它除了包含几何、材质信息,可以存储骨骼动画等数据)来实现动画。
# AnimationMixer
- 动画混合器是用于场景中特定对象的动画的播放器。当场景中的多个对象独立动画时,每个对象都可以使用同一个动画混合器。
- 参数:
rootObject混合器播放的动画所属的对象。就是包含动画模型的场景对象。 - 常用参数和属性:
.time全局的混合器时间。.clipAction(AnimationClip)返回所传入的剪辑参数的AnimationAction对象。AnimationAction用来调度存储在AnimationClip中的动画。
AnimationClip动画剪辑,是一个可重用的关键帧轨道集,它代表动画。
.getRoot()返回混合器的根对象。.update()推进混合器时间并更新动画。在渲染函数中调用更新动画。
# 开始使用
# 基础场景
<!DOCTYPE html> | |
<html lang="en"> | |
<head> | |
<meta charset="UTF-8" /> | |
<title>学习</title> | |
</head> | |
<body> | |
<canvas id="c2d" class="c2d" width="1000" height="500"></canvas> | |
<script type="module"> | |
import * as THREE from './file/three.js-dev/build/three.module.js' | |
import { OrbitControls } from './file/three.js-dev/examples/jsm/controls/OrbitControls.js' | |
import { FBXLoader } from './file/three.js-dev/examples/jsm/loaders/FBXLoader.js' | |
const canvas = document.querySelector('#c2d') | |
// 渲染器 | |
const renderer = new THREE.WebGLRenderer({ canvas }) | |
const fov = 40 // 视野范围 | |
const aspect = 2 // 相机默认值 画布的宽高比 | |
const near = 0.1 // 近平面 | |
const far = 10000 // 远平面 | |
// 透视投影相机 | |
const camera = new THREE.PerspectiveCamera(fov, aspect, near, far) | |
camera.position.set(1000, 500, 1500) | |
camera.lookAt(0, 0, 0) | |
// 控制相机 | |
const controls = new OrbitControls(camera, canvas) | |
controls.update() | |
// 场景 | |
const scene = new THREE.Scene() | |
// 背景 | |
scene.background = new THREE.Color(0x87ceeb) | |
// 雾 | |
scene.fog = new THREE.Fog(0x87ceeb, 200, 10000) | |
// 辅助 | |
const axes = new THREE.AxisHelper(700) | |
scene.add(axes) | |
{ | |
// 灯光 | |
const skyColor = 0xffffff // 天空 白色 | |
const groundColor = 0x000000 // 地面 黑色 | |
const intensity = 1 | |
const light = new THREE.HemisphereLight(skyColor, groundColor, intensity) | |
scene.add(light) | |
} | |
{ | |
// 地面 | |
const loader = new THREE.TextureLoader() | |
const texture = loader.load('./file/23/1.jpg') | |
texture.wrapS = THREE.RepeatWrapping | |
texture.wrapT = THREE.RepeatWrapping | |
texture.magFilter = THREE.NearestFilter | |
// 纹理 重复 | |
texture.repeat.set(100, 100) | |
const planeGeo = new THREE.PlaneGeometry(10000, 10000) | |
const planeMat = new THREE.MeshPhongMaterial({ | |
map: texture, | |
side: THREE.DoubleSide | |
}) | |
const mesh = new THREE.Mesh(planeGeo, planeMat) | |
mesh.rotation.x = Math.PI * -0.5 | |
scene.add(mesh) | |
} | |
// 渲染 | |
function render() { | |
renderer.render(scene, camera) | |
requestAnimationFrame(render) | |
} | |
requestAnimationFrame(render) | |
</script> | |
</body> | |
</html> |
# 加载.fbx 模型
const loader = new FBXLoader() | |
loader.load('./file/Naruto.fbx', function (mesh) { | |
console.log(' AnimationMixer 动画混合器(二十四).html ~ line 73 ~ mesh', mesh) | |
mesh.position.y = 110 | |
scene.add(mesh) | |
}) |

- 可以看见解析出来的对象中,存在
animations属性并且有 27 条数据,代表有 27 个动画。

# 使用 AnimationMixer 控制动画
# 1. 创建全局参数获取动画相关对象。
let actions = [] // 所有的动画数组 | |
let gui = {} // 动画控制 | |
let mixer = null // AnimationMixer 对象 |
# 2. 解析动画,并执行第 24 个动画。
mixer = new THREE.AnimationMixer(mesh) | |
for (var i = 0; i < mesh.animations.length; i++) { | |
actions[i] = mixer.clipAction(mesh.animations[i]) | |
} | |
gui['action'] = function (s) { | |
for (var j = 0; j < actions.length; j++) { | |
if (j === s) { | |
actions[j].play() | |
} else { | |
actions[j].stop() | |
} | |
} | |
} | |
// 第 24 个动作是鸣人站立的动作 | |
gui['action'](24) |
- 在渲染函数中执行
.update()函数,推进动画进行。
.Clock()该对象用于跟踪时间。
const clock = new THREE.Clock() | |
// 渲染 | |
function render() { | |
const time = clock.getDelta() | |
if (mixer) { | |
mixer.update(time) | |
} | |
renderer.render(scene, camera) | |
requestAnimationFrame(render) | |
} |

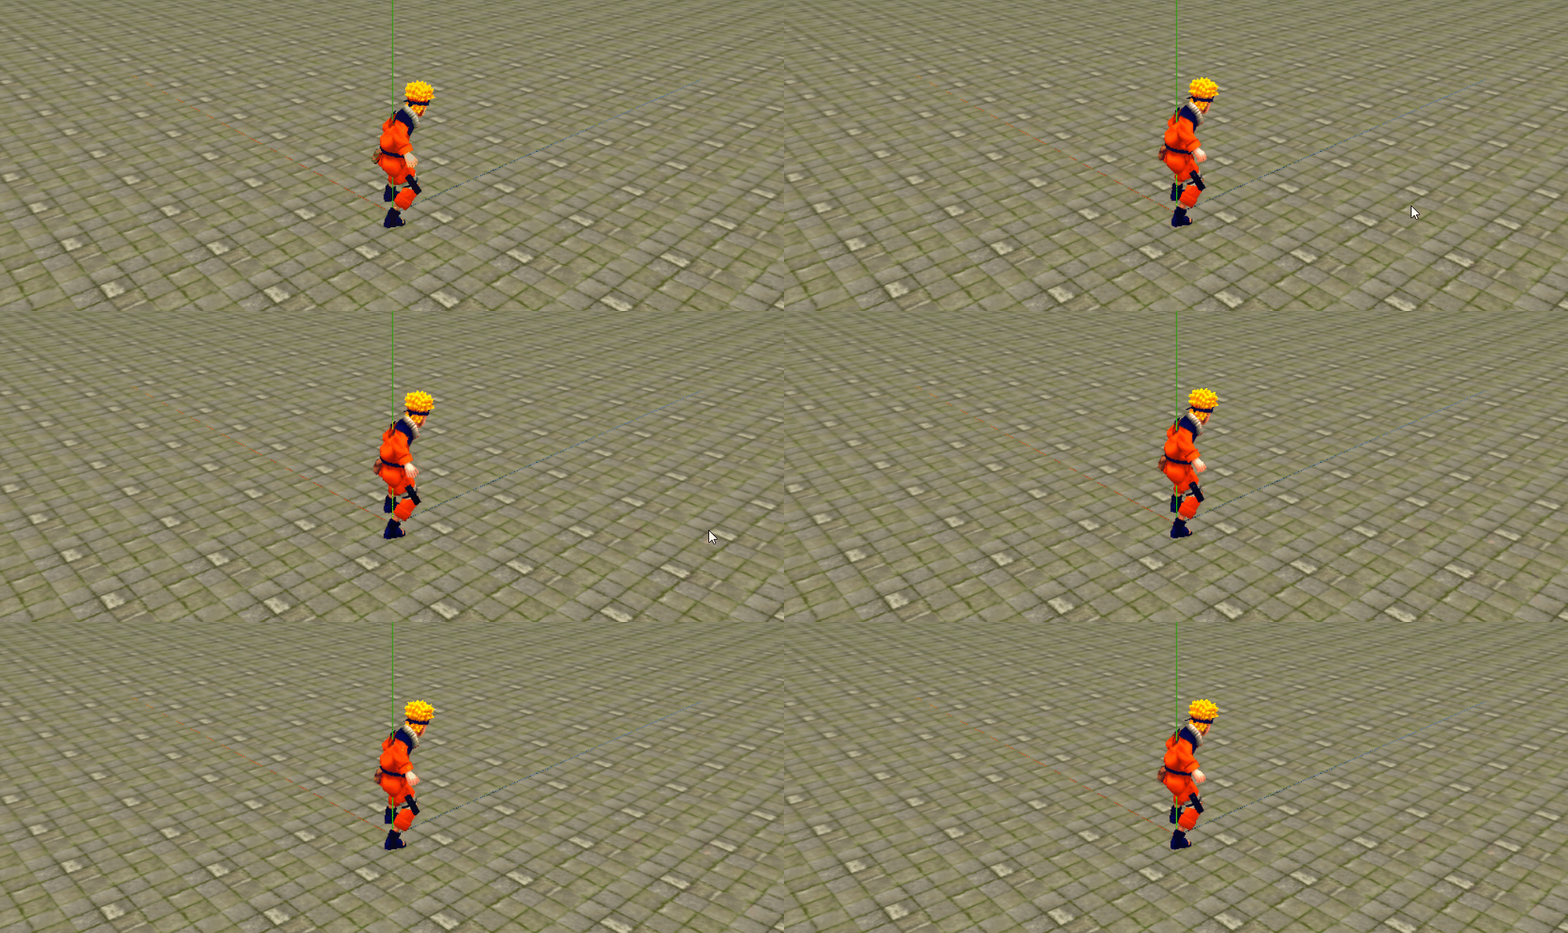
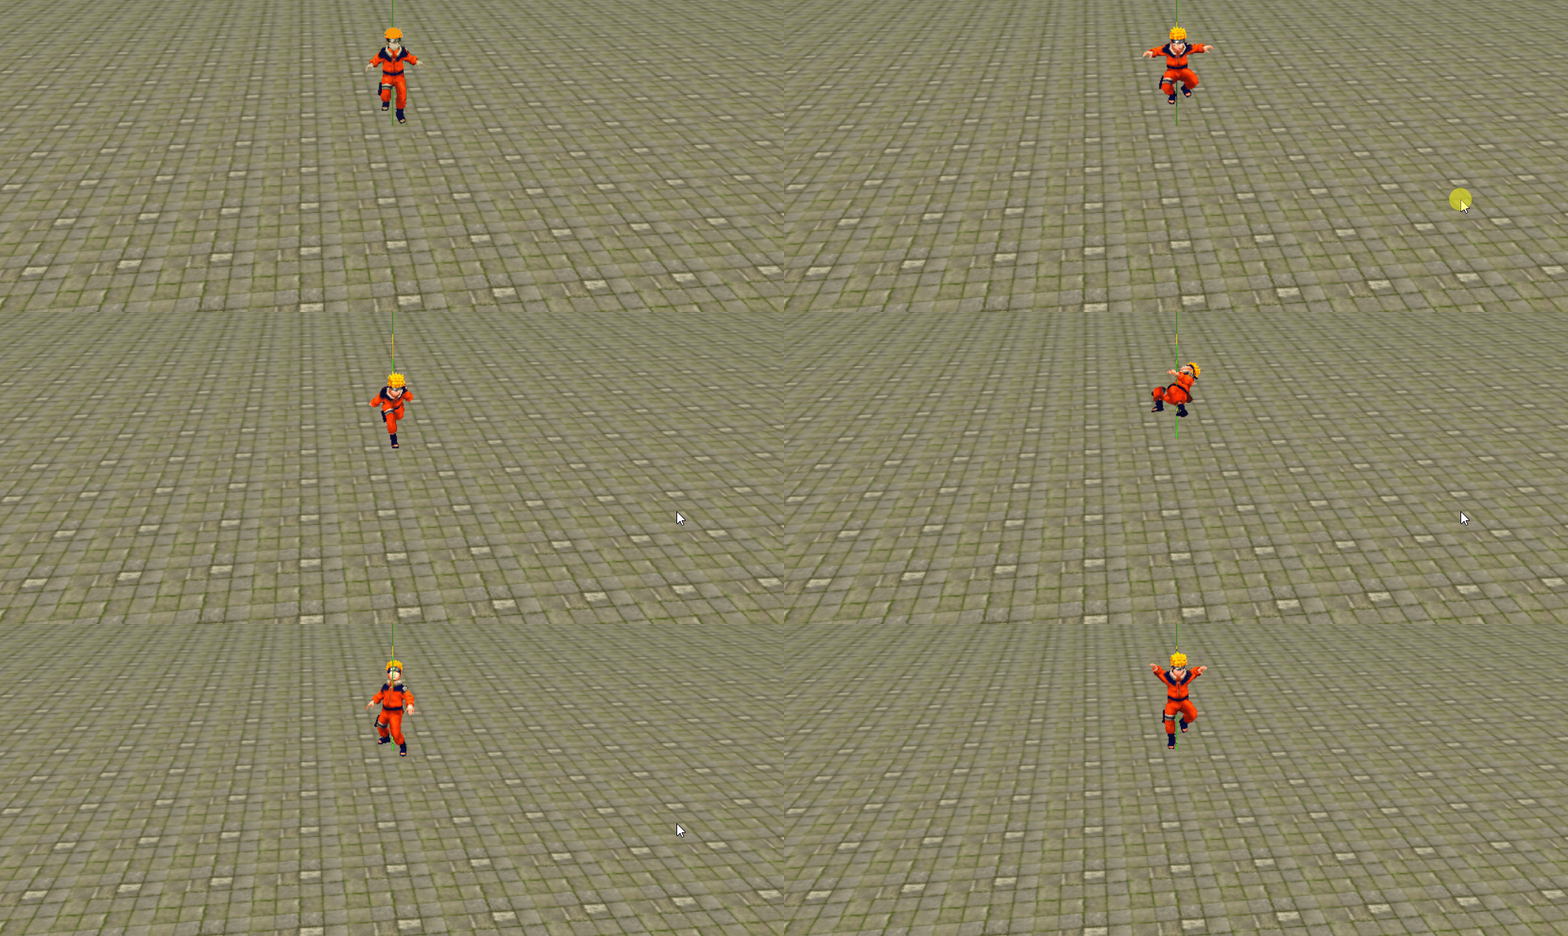
# 通过键盘空格切换动画
- 监听键盘事件,调用
gui对象执行新的动画。
let keyNum = 24 // 动作 | |
document.onkeydown = function (e) { | |
if (e && e.keyCode == 32) { | |
if (keyNum === 27) { | |
keyNum = 1 | |
} | |
keyNum += 1 | |
gui['action'](keyNum) | |
} | |
} |
